For the first two years in our house, the washing machine and tumble dryer lived in what the estate agent described as a utility area. This was a generous term for a curtained off alcove in the hallway with exposed plumbing a bare bulb overhead and just enough floor space to open the machine doors if you angled yourself correctly.
Laundry piled on top of the dryer. Detergent bottles lined the windowsill. Every time a visitor arrived, the curtain did absolutely nothing to obscure the general chaos behind it. I told myself it didn’t matter because nobody really cared about a utility space. Then we redid it properly during a bathroom renovation it shared a wall so the timing made sense and I spent approximately three weeks telling everyone who would listen how much it changed daily life.
A good laundry room design is one of those things that rewards you quietly, multiple times a week, for as long as you live in a house. It doesn’t get photographed for Instagram very often and it doesn’t come up in conversations about home design. But if yours works well you notice it every single time you do a wash. And if it doesn’t you notice that too.
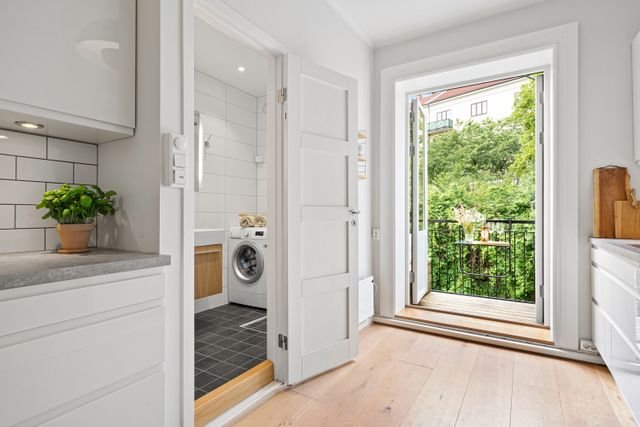
The layout question because this shapes everything else
Before you think about aesthetics storage or styling the layout of your appliances and surfaces has to make sense. A beautifully designed laundry room with an illogical layout will frustrate you every single time you use it.
Side by side appliances
Best for wider rooms
Washer and dryer placed next to each other. Allows a continuous worktop across both, which is the most useful surface in any laundry room. Requires a minimum of about 120cm width.
Stacked appliances
Best for narrow or small spaces
Dryer sits on top of the washer on a stacking kit. Frees up significant floor space but removes the counter top surface option. A fold down shelf or wall mounted worktop compensates.
Appliances in a cupboard
Best for hiding everything
Washer and dryer inside a large cupboard with bifold or sliding doors. Looks seamless when closed. Requires good ventilation planning and enough interior depth for both machines plus door clearance.
Appliances under a counter
Best for kitchen adjacent utility
Integrated style setup where both machines sit below a continuous worktop. Common in utility rooms attached to kitchens. Clean seamless look with maximum surface space above.
Dedicated laundry alcove
What we had and fixed
Recessed space in a hallway or landing. Works well with proper shelving above a curtain or bifold doors to conceal it, and a wall mounted drying rail. Can be surprisingly efficient in a compact footprint.
The design upgrades that make the biggest functional difference
- High impact
- A proper worktop surface Above the machines or beside them a surface for folding sorting and pre treating laundry changes the whole workflow. Without it everything lands on the floor, a bed, or the top of the dryer where it slides around. Even a simple length of laminate worktop cut to fit is transformative.
- A wall mounted drying rail A retractable ceiling or wall mounted drying rail beats a freestanding clothes airer in every conceivable way it doesn’t take up floor space it folds away when not in use and it positions laundry in the best air flow. Sheila Maid ceiling airers and wall mounted retractable rails from brands like Leifheit are both well worth the investment.
- Proper overhead lighting Most utility rooms get one dim bulb or a single recessed downlight that casts shadows exactly where you’re trying to sort a white wash from a coloured one. A strip light or multiple overhead sources makes it genuinely easy to see what you’re doing. An obvious thing that’s consistently under specified in utility spaces.
- Medium impact
- Decanted detergent storage One of the simplest yet most effective laundry room design upgrades you can make is getting your washing powder, liquid, and fabric conditioner out of their original packaging and into uniform containers. Airtight canisters for powder and pump dispensers for liquid both look significantly better and use your counter space far more efficiently. Even just grouping everything onto a unified tray or basket makes a noticeable difference to what is usually the messiest visual element in the whole space.
- A utility sink A utility sink is one of those laundry room design additions that completely changes what the room can actually do. It is not always possible depending on your plumbing setup, but even a compact Belfast style sink opens up a whole new range of tasks, from hand washing and pre soaking to cleaning muddy sports kit without having to drag it through the kitchen. If the plumbing is accessible during any renovation work, it is absolutely worth including.
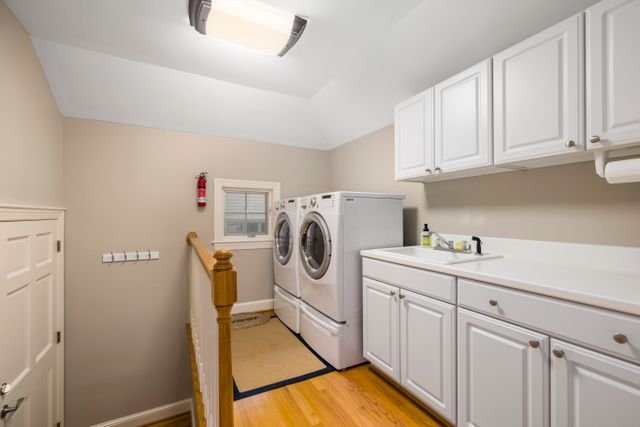
Step by step: designing a laundry room that actually functions
Map your plumbing and ventilation constraints first
Your washing machine needs a cold water inlet a drain outlet and a power socket. Your dryer if it’s vented rather than heat pump needs an external vent or a very well ventilated space. Before planning anything else establish exactly where these connections are and what movement is realistically possible. Moving plumbing significantly adds cost: designing around existing connections saves money for other improvements.
Prioritise the workflow not the aesthetics
Think through the sequence of how laundry actually moves: dirty laundry arrives gets sorted goes in the machine comes out wet goes to dry comes down dry gets folded goes back to bedrooms. Every step should have a logical low friction place in the room. Work out where dirty laundry comes from where you’ll fold, and where dried items wait before being put away. Then design around that journey.
Plan the storage in two tiers daily use and occasional
Daily use items (detergent fabric softener stain remover) should be immediately at hand near the machines ideally on a shelf or in a wall cabinet at a reachable height. Occasional use items (ironing board, spare hangers, seasonal items) can go in less accessible spots on high shelves or in lower cabinets. Mixing the two is how laundry rooms end up feeling cluttered even when they’re not particularly full.
Think about drying seriously it’s where most laundry rooms fail
People design beautiful laundry rooms and then have nowhere to hang a wet school uniform in a hurry or air a jumper that can’t go in the dryer. Plan at least one drying solution that doesn’t involve a freestanding airer dominating the floor. A retractable wall rail an extendable ceiling rack or even dedicated hanging hooks at height all solve this more elegantly.
Address the floor properly
Laundry rooms get wet machine vibration can cause condensation water splashes happen during transfers and wet items drip. Flooring needs to be water resistant and easy to clean. Vinyl LVT flooring is the most practical choice: waterproof comfortable underfoot available in any visual style you want and significantly cheaper to lay than tile in a small space.
What our laundry room looks like now and what we changed
The alcove that used to hide behind a curtain is now a proper and functional laundry room design that I am genuinely proud of. The washer and dryer sit side by side under a laminate worktop that extends the full width of the alcove. Above that are three shelves of wall mounted cabinetry from IKEA’s SEKTION range, with the handles swapped out for brushed brass bar pulls to make them feel a little less standard kitchen and a little more considered.
A Leifheit wall mounted retractable drying rail on the right hand wall extends out when needed and folds completely flat when not in use, taking up genuinely zero space when closed. The floor is grey herringbone LVT which was laid in a single morning and has been wiped clean approximately a hundred times since without a single complaint.
The lighting went from a bare bulb to two LED strips fitted under the wall cabinets, which light the worktop directly and make sorting laundry at 9pm considerably less grim than it used to be. As laundry room design transformations go, the total cost including cabinets, worktop, flooring, drying rail, and lighting came to around £800 spread across two weekends of DIY. The cabinets were the most expensive part and everything else came in under £100, which just goes to show how much a thoughtful laundry room design can achieve without a huge budget.
Aesthetic directions that work for laundry rooms
Utility Chic
This is one of the most popular laundry room design directions and honestly one of the easiest to pull off. White or neutral shaker cabinets, a subway tile backsplash, black or brushed brass hardware, and a few woven baskets come together to create something that feels quietly smart without trying too hard. It is widely liked for good reason and suits almost any home style.
Dark and Moody
If you want a laundry room design that feels genuinely unexpected and beautiful, the dark and moody direction is worth considering. Deep navy, slate, or forest green walls paired with white appliances and open shelving displaying organised ceramics can look stunning in a room with good natural or artificial lighting. Just keep in mind that it is less forgiving with clutter, so staying on top of tidiness is important with this one.
Warm farmhouse
Warm white walls wood look shelving wicker baskets a vintage style clock on the wall. Soft and homey. Suits houses with a rustic or country aesthetic already established in other rooms.